Hey everyone! We want to share this cool DIY Pottery Barn inspired trunk that we both worked on together. Yes, we each built one. Not only did it turn out awesome…but we had a lot of fun and learned a lot making it, too! What’s better than a little social time, while gettin’ in a little DIY project time, while the little ones get in some playin’ time. Mom multi-tasking at it’s finest!
So, here’s the story.
We got to talking one day and realized that we both needed to remedy a horrendous kid junk problem in our family rooms. In the search to find a solution, we happened upon this beautiful Pottery Barn trunk, it seemed like a perfect solution to both of us. We could use a big ole wood trunk that we could throw junk in, close the lid and walk away pretending like that junk doesn’t exist! Know what I’m saying?
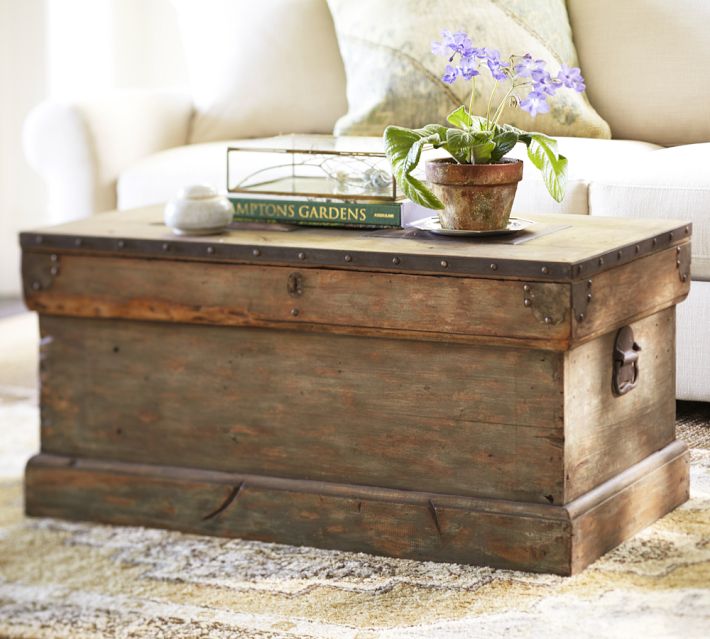
This is the trunk we found. The Rebecca Trunk from Pottery Barn. Perfect, right? Beautiful.
Well, this beauty will set you back about $599.00 buck-a-roos….not so perfect. Spending that much money, on what is really just a big wooden box, wasn’t an option for either of us! So we started brainstorming…
It’s a great thing that in this day and age we have handy dandy google…and pinterest. It feeds the natural DIYer’s in all of us. We came across this plan to build a trunk from Ana White, and it just so happened to be inspired by the same trunk we found. Score!
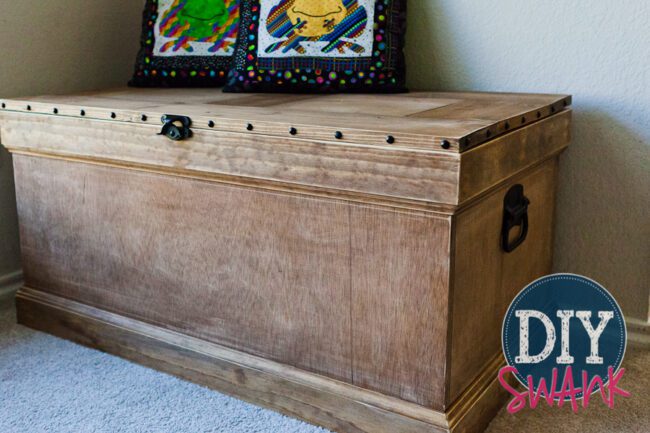
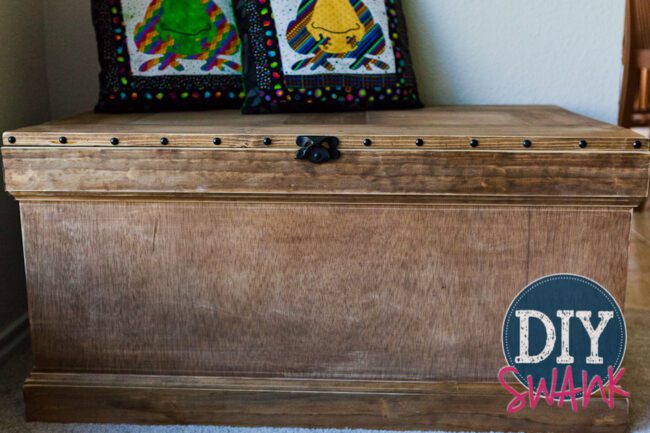
We each built one, but this is a picture of mine. And I just gotta say that I love how it turned out! I especially love that a person can admire it on the outside and have no idea what’s on the inside.
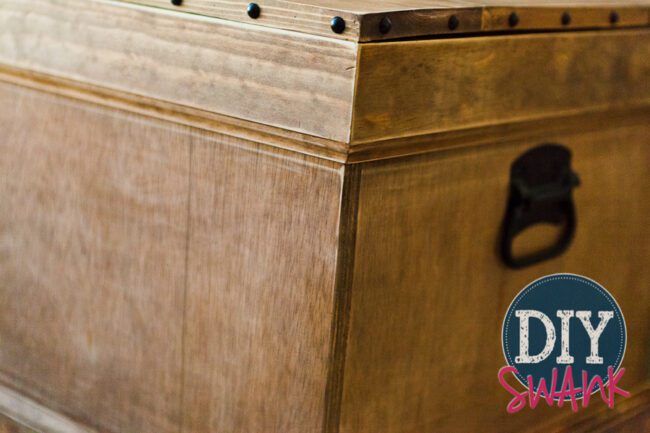
I’m really happy with the finish…it kinda reminds me of some old worn out brown leather boots.
It definitely serves it’s purpose well. I can’t tell you the exact amount we spent to build this but I would say it was in the $75-100ish range for all supplies not including tools.
That’s the kind of deal we love!
-Megan and Christen

What finish did you use? It’s. A gorgeous piece!!
Thank you, Mike! This is my absolute favorite finish. I stained it using Varathane Cypress and then lightly distressed overall with my sander. Then I finished it using a furniture wax, I think it was minwax. That’s it! -Megan
I love this! I wanted the PB version so bad that I ordered it while my husband was out of town, then had immense guilt about the price, and called PB praying that they could cancel my order. Thank you for this post, now I can create my own!
Thanks Jennifer! I’m so happy to hear that we inspired you to make your very own trunk. You will love your hand built trunk way more than the PB version! I Promise. 🙂 -Megan
excellent job!! can you tell me where you got the hardware?
Thank you, Bob! I got the hardware from Home Depot. For the handles I couldn’t find any in black, so I bought silver and spray painted them black and they have held up great!
Hello! I have a question about the 1X6 planks. Anna White says to cut them at 37 inches, but I believe they should be cut at 37 1/2, since the side panel where the lid will sit on is 36 inches wide plus molding (1 1/2). Or did she intend for the lid to be 1/2 inch smaller than the perimeter where it sits? Thank you!