Hi guys! It’s me again! Yep, I’m doing a double post today. Bonus!
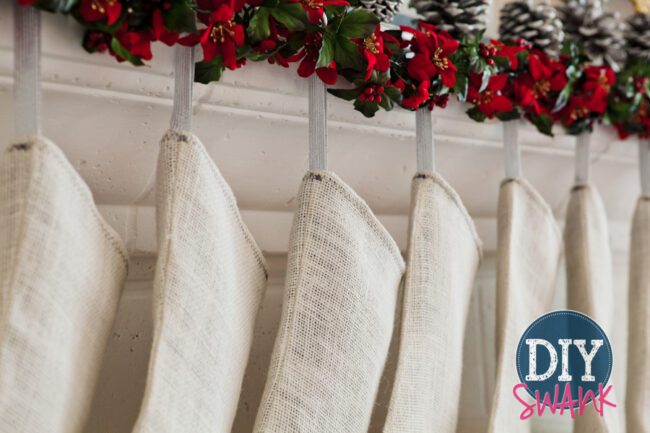
If you read My Christmas Mantel post, I mentioned in there that I was working on a tutorial for a DIY Burlap Stocking that Christen and I made this year.
I have this DIY Burlap Stocking tutorial together and posted just in time for Christmas. For all the people who are ahead of the game and are prepared with presents wrapped and under the tree and have nothing else to do 😉 This is for you, just in case you want to throw some stockings together in the next few days. 🙂 Unfortunately, that’s not me, I’m still not done with my lists of things to do!
I scoured the internet and didn’t really find a post for a DIY Burlap Stocking without a cuff! I was very specific in that I did not want a cuff on my stockings. I wanted plain and simple.
So, along with Christen’s help, I came up with a little tutorial on how to make a stocking without a cuff for all those out there wanting a simple, NO CUFF stocking!
Here is how we did it:
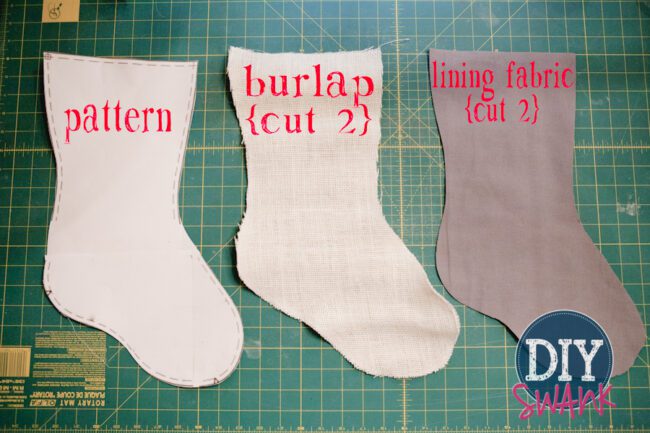
First, you need to download a stocking pattern. The one we used is here. I printed it on my printer at 370% and then pieced/taped it together.
Then sew the burlap right sides together at 1/4″ seam with a zig-zag stitch.
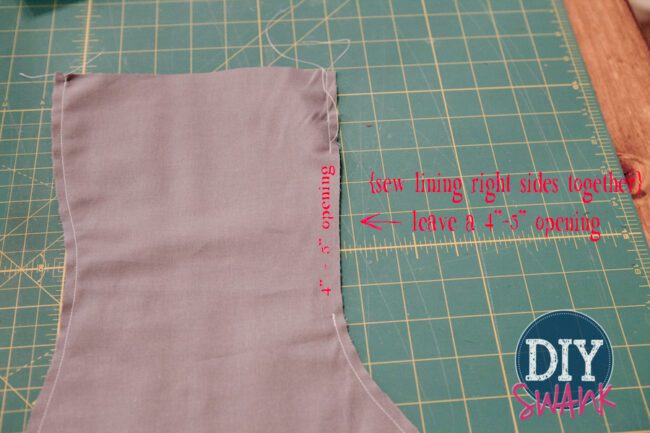
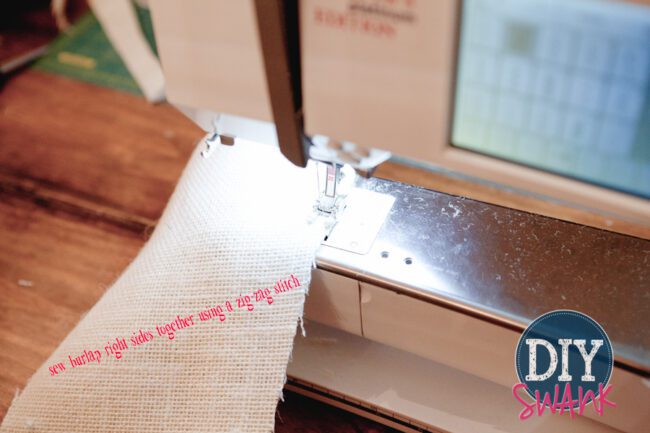 Sew the lining fabric right sides together and leave a 4″-5″ opening. Backstitch at the beginning and end of each seam.
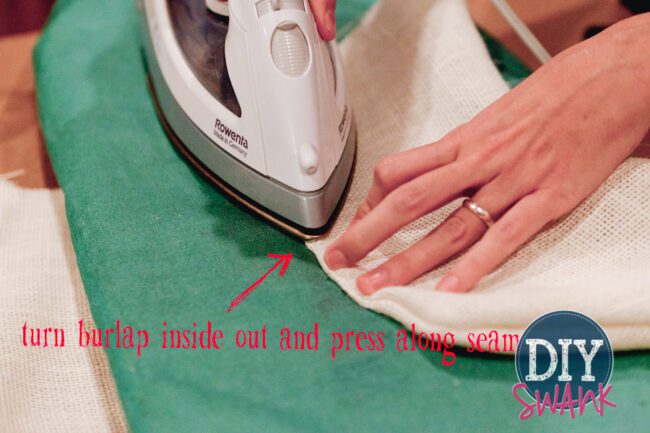
Turn the burlap right sides out. Shape and press on seams so the burlap lays flat. This step is really important to manipulate the stocking into the shape you want.
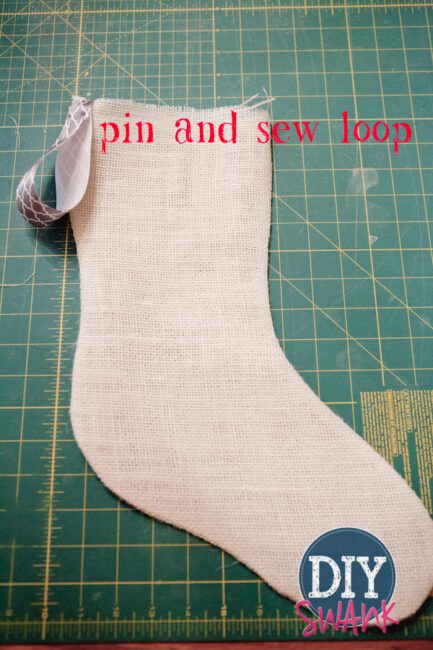
Now you are going to add the loop. We used a 9″ piece of ribbon folded in half. But you can use burlap or a piece of fabric if you’d like also. Pin the loop to the outside of the right side and sew back and forth a couple times, depending on how sturdy you want it. (how much does Santa leave hanging in your stockings?)
Stuff the burlap stocking (right sides out) into the fabric lining (wrong sides out).
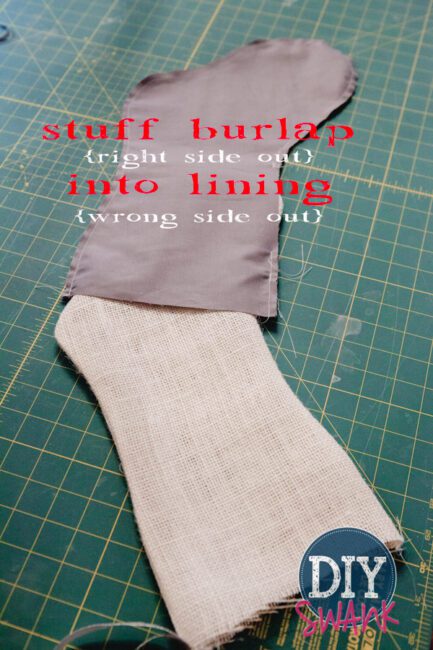
Once the burlap is all the way in, pin the burlap to the lining at the seams. Be sure the loop is laying flat inside between the two layers.
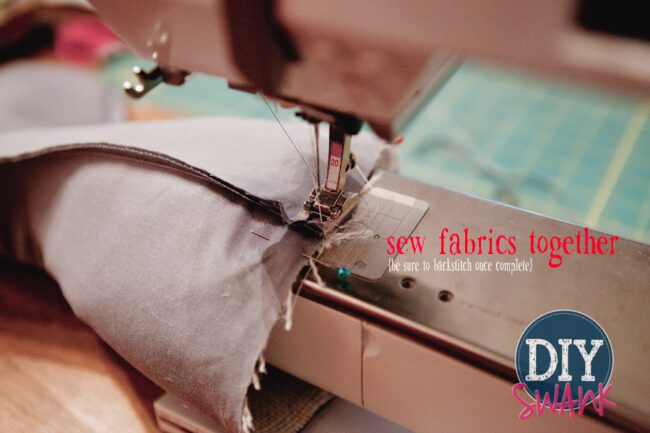
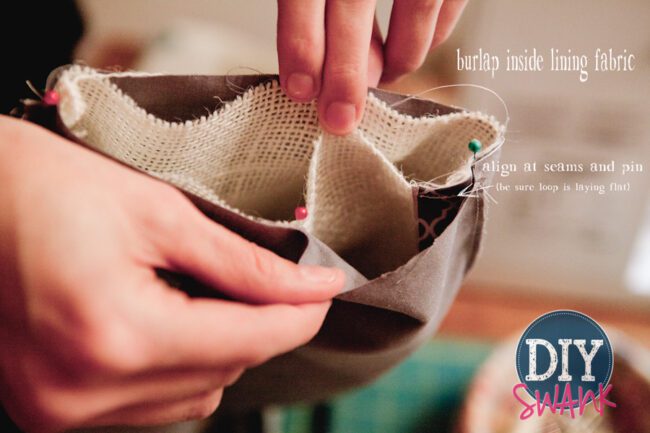 Sew the fabrics together. I recommend using a 1/2″ seam for this part. (I used a 1/4″ and had to go back because the burlap frayed some and the seam didn’t catch it!)
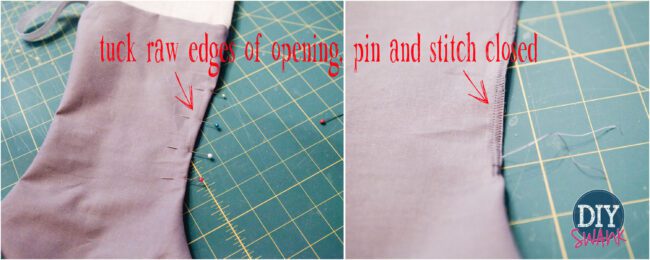
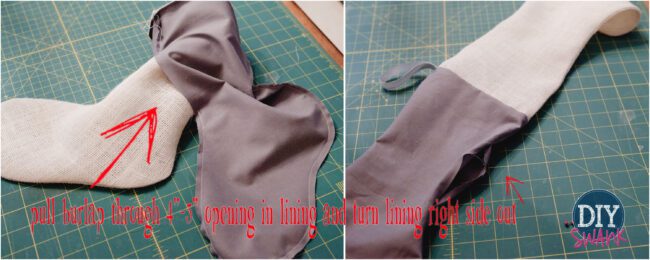
Pull the burlap out of lining through the opening on the lining and turn the lining inside out so the burlap and lining are right sides out
Close up the opening on the lining. I used a zig-zag stitch to close up the lining.
Stuff the lining into the burlap and press the seam at the top to shape.
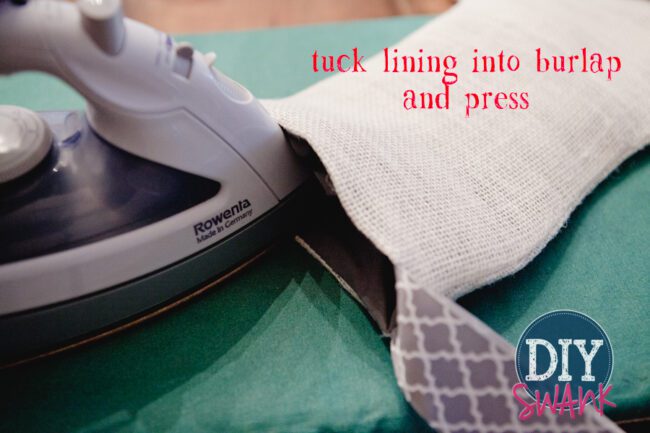
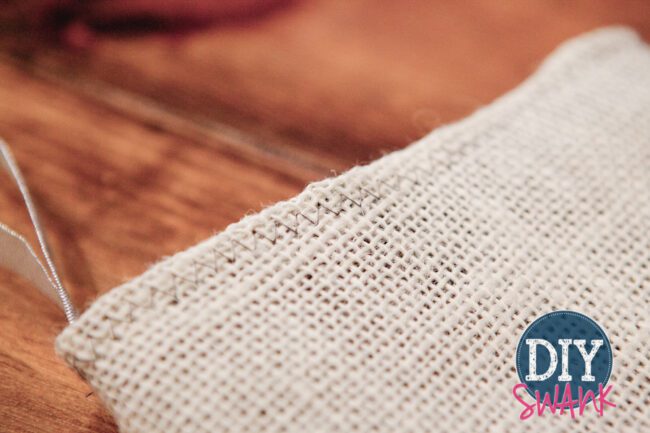
You can be done here. OR you can finish the top with a decorative zig-zag stitch.
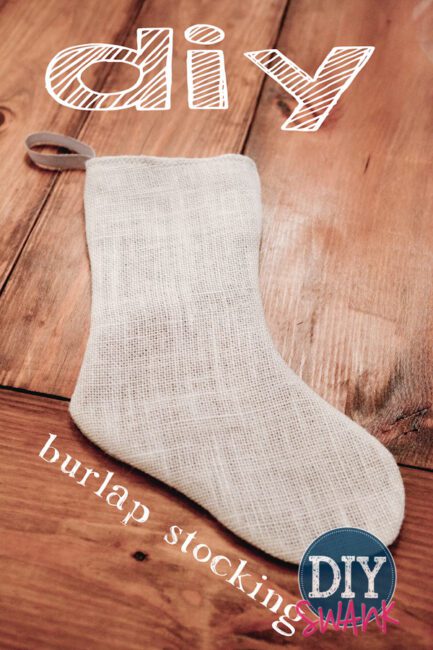
and you are done! This is a simple stocking. You can embellish it however you like or leave it plain.
Christen did add to her stockings using a fabric glue and ruffle-y stuff. I’ll try to update this post later with pictures of her stockings.
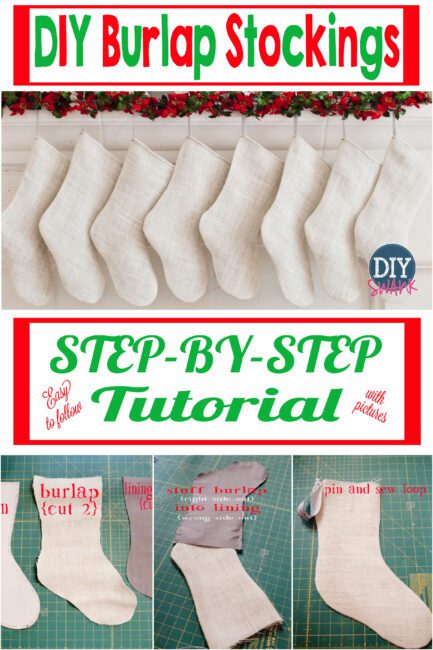
If you are on Pinterest and don’t want to make stockings this year, but want to put this tutorial up on a shelf for later….I’ve made a pin-able picture just for you! So you can pin and share and remember for the years to come!
I hope you have a fabulous Christmas!
Cheers!
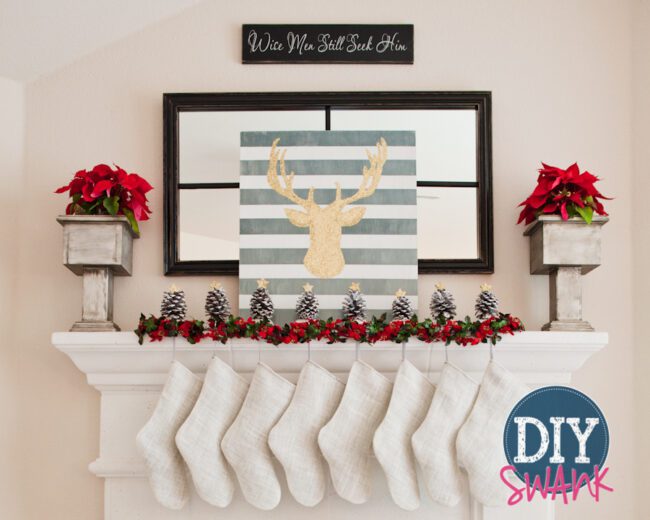


These are adorable – hope you had a very Merry Christmas and have a very Happy New Year!
Thanks Antionette! Merry Christmas and Happy New Year to you!
This is a wonderful tutorial! Thank you so much!! I made my first stocking this morning using the tutorial and worked like a charm! Thanks!!!